3D Point Calculation by Triangulation
The technology currently most commonly used in 3D scanners is based on the principle of triangulation. A point on the surface of the object is observed with 2 cameras. The coordinates of this point can be calculated relative to the basis b.
Instead of working with a single point, one could project a line on the surface with a laser. Seen from the perspective of the laser, the line would appear straight. However, the same line observed under an angle by the camera will appear deformed depending, on the surface topology. Multiple points can be calculated from the amount of deformation.
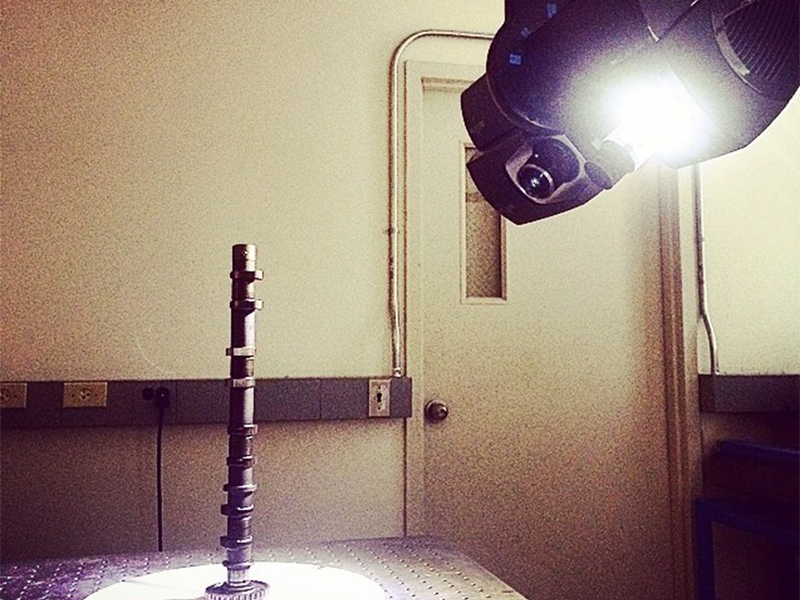
“White Light” scanners, also called structure light scanners, expand on this principle. No lasers are used, but instead they rely on a very bright light source (White Light), which is used to project a well defined line pattern onto the surface, using a slit plate or digital projection system. The intersection of these lines on the surfaces, enables the evaluation of multiple lines in one step and therefore makes the data acquisition faster.
Since a CMM uses physical contact to establish a point of measurement, it’s extremely inefficient – honestly, to an absurd level – to try to use a CMM for surface analysis. Take, for example, a car hood. If you need to know what the hood’s width is, the CMM will tell you with great precision. But if you want analysis of the entire hood, rises and dips and dings and all, it would take millions of data points to get it. The white light scanner takes a series of photos to get every relevant data point almost instantly.
A wheel needs to be round. But before it goes on a car, how do you know the when is round enough to do the job? With a CMM, it would take a lot of readings – at least eight, but for prime accuracy closer to “hundreds” – to get the answer. With a white light scanner, it takes one to get every data point you need.


